Backup/test company with a separate database server
This instruction is recommended for backup of company databases, when SQL Anywhere Database Server is installed on a separate server computer, and not the application server (the Monitor server). The instruction is also recommended for creating and scheduling copying of company databases to test companies on the separate server computer. In both cases, the SQL Anywhere backup tool is used to run backup and copying tasks on the database server.
Firstly you must copy the SQL Anywhere backup tool to the database server, to be able to create and run backup tasks and copying tasks locally on the database server.
If the SQL Anywhere backup tool is already on the database server, check that the backup tool has the same version as on the application server (hereinafter referred to as the “Monitor server”). If not, the backup tool must be copied once again.
- Open the Explorer in Windows on the Monitor server and go to the folder called C:\Program Files (x86)\Monitor ERP System AB\MONITOR Installation Manager.
- Copy the sub-folder called SqlAnywhereBackupTool to a network resource or a USB memory.
- Go to the root folder C:\Program Files (x86)\Monitor ERP System AB for the Monitor server.
- Also copy the file certificate.rsa to the SqlAnywhereBackupTool folder on the network resource or the USB memory stick.
- Open the Explorer in Windows on the database server where the SQL Anywhere database engine and company databases are installed.
- Copy the folder called SqlAnywhereBackupTool from the network resource or the USB memory stick to C:\ on the database server. This will create the path C:\SqlAnywhereBackupTool.
This is a method for manually creating and scheduling backup tasks on the Monitor server. There is also an alternative method for creating and scheduling backup tasks with Monitor ERP Installation Manager on the Monitor server. See below.
- Open the Task Scheduler in Windows on the database server.
-
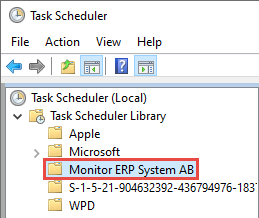
Create a folder named Monitor ERP System AB under Task Scheduler Library in the left-hand section. Right-click Task Scheduler Library and select New folder... and give the new folder the name.
-
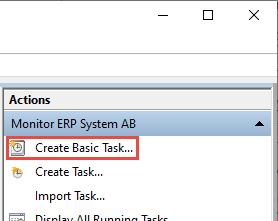
When you have marked the Monitor ERP System AB folder, select Create Basic Task... In the right section called Actions.
-
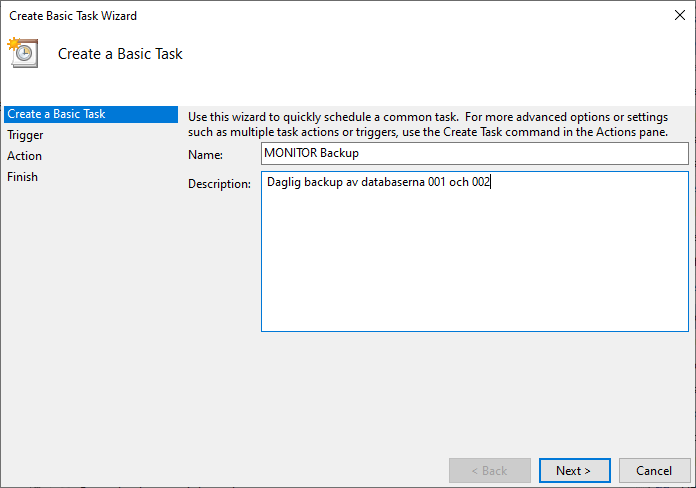
Enter a name and a description for the activity in the dialog that appears. Click Next >.
-
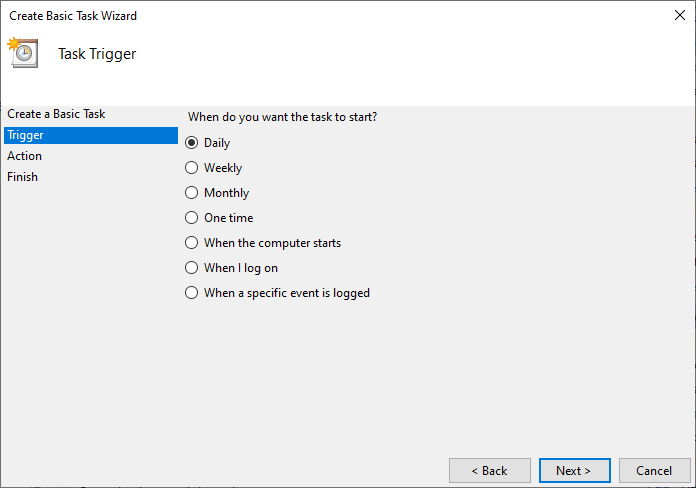
Choose when to run the activity. Daily is the default and recommended option for backup of databases. For copying to test company you choose one of the options regarding how often you want to copy to the test company. Click Next >.
-
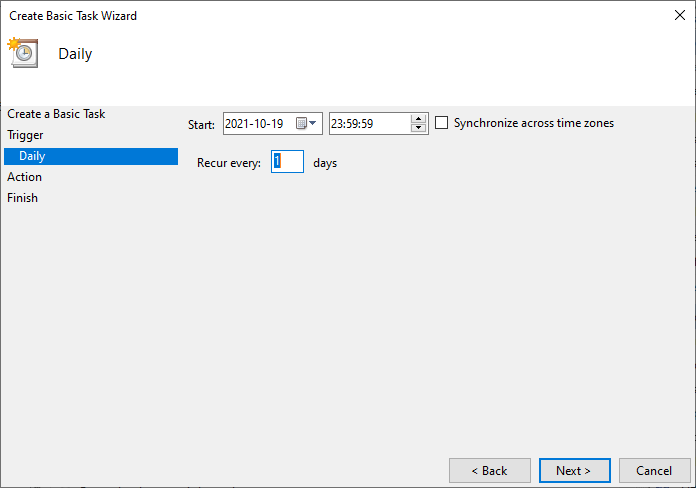
In Start you select date and time for when the activity should start. In the Recur every field you enter how often the activity should be repeated. It is recommended to run the activity every day when backup is concerned. When copying to test company is concerned, you can enter any interval of your choice. Click Next >.
-
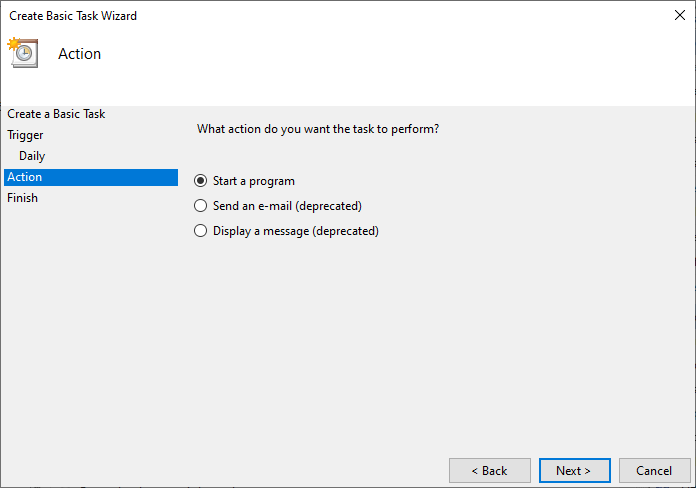
Choose Start a program for the activity. Click Next >.
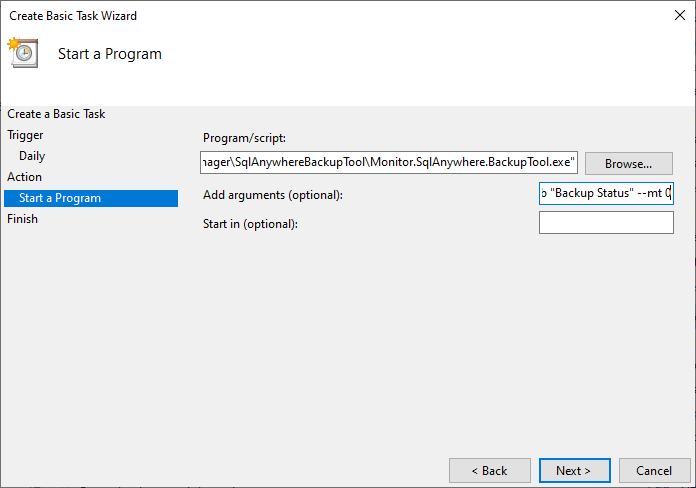
- Click the Browse... button and select the Monitor.SqlAnywhere.BackupTool.exe file in the folder called SqlAnywhereBackupTool.
- In the Add arguments field you need to add arguments according to the following example.
-
Leave Start in empty. Click Next >.
-
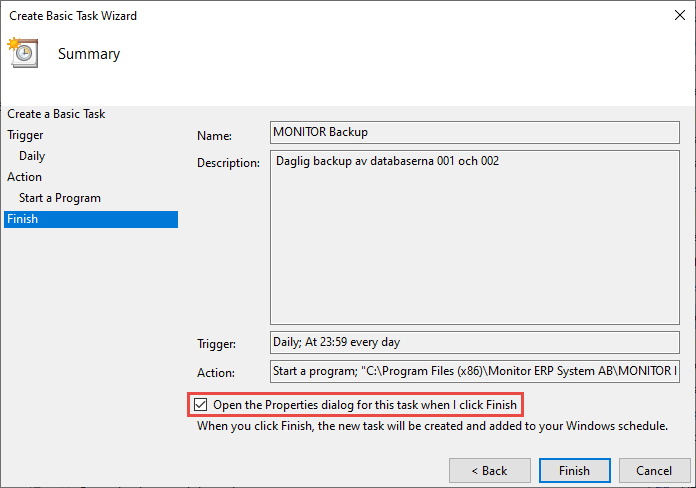
Activate the Open the Properties dialog for this task when I click Finish checkbox. Click Finish.
-
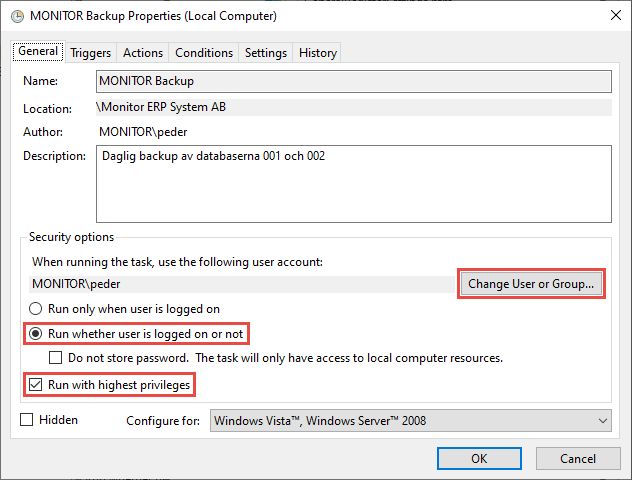
Click the Change User or Group... button in the dialog which opens, and enter the Windows account that will run the activity. It is normally the same account which runs the service for the Monitor server or an administration account. Also activate the Run whether user is logged on or not and Run with highest privileges settings. Click the Settings tab.
-
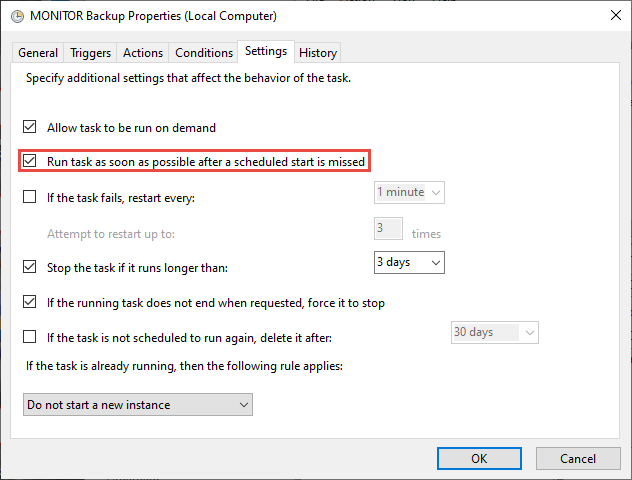
Activate the setting called Run task as soon as possible after a scheduled start is missed. Then click OK.
-
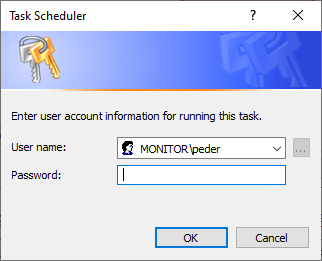
Finally, this dialog window is displayed where you have to enter the password for the Windows account that will run the activity. Then click OK.
This is a method for creating and scheduling backup tasks with Monitor ERP Installation Manager on the Monitor server, and then exporting to the database server.
- Follow the instructions under the heading Copy SQL Anywhere backup tool to the database server, if this has not already been done.
- Then follow the instructions in the section Create and schedule backup.
- The backup task will now be exported in order to be copied to the database server. Open Task Scheduler in Windows on the Monitor server.
- Select the folder in Task Scheduler where the task is saved, normally Monitor ERP System AB.

-
The tasks in the folder are shown in the box on the right. Select the task which is to be exported.

-
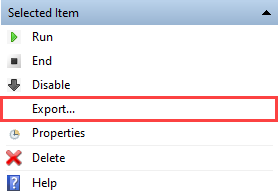
Select Export... and then save the backup task on disk as an XML file.
-
If there are more backup tasks to be exported, repeat steps 5–6, above, for those tasks.
- Please note! Then delete the backup task in Task Scheduler on the Monitor server. This is important in order than no one can then trigger backup runs from the Monitor server.
- Copy the exported XML files to any folder on the database server.
- The backup task will now be imported to the database server. Open the Task Scheduler in Windows on the database server.
-
Create the folder Monitor ERP System AB under Task Scheduler Library in the left-hand section. Right-click Task Scheduler Library and select New folder... and give the new folder the name.

-
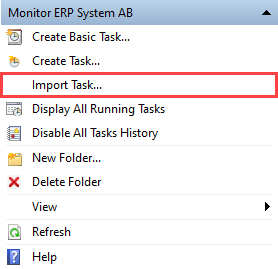
Select the folder and then choose Import Task... in the box on the far right.
- In cases where the backup task is set up in the Installation Manager on the Monitor server to be run across the network to the database server, you must replace the UNC file paths with local file paths in the backup task. This is done in the Add arguments field (see point 9 above, under the heading Create and schedule backup manually with Task Scheduler in Windows).
- Also check the other arguments in the field Add arguments in the backup task. You can then add arguments for if and when e-mails will be sent when the backup task is run. See the following section on the arguments available.
When you have a separate database server, test companies and copying tasks for test companies must always first be created with the Monitor ERP Installation Manager on the Monitor server, and then exported to the database server. This is to ensure a record for each test company is created in the system’s configuration file.
- Follow the instructions under the heading Copy SQL Anywhere backup tool to the database server, if this has not already been done.
- Then follow the instructions in the section Create test databases.
- Then, follow the instructions in steps 3–4, above, under the heading Create and schedule backup with Monitor ERP Installation Manager).
If you have created a backup task or copying task which is not scheduled, or if you want to run the task manually at one time, you must run it with Task Scheduler on the database server.
- Connect a remote desktop to the database server with Remote Desktop Connection in Windows, or an equivalent program for remote connection.
- Follow the instructions in steps 1–2 under the heading Change a backup or copying task with Task Scheduler in Windows.
-
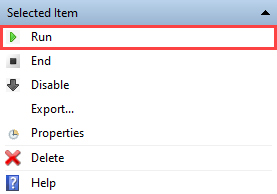
Then select Run for the selected tasks in the box on the far right.
If you later need to change a backup task or copying task you can do so with Task Scheduler on the database server.
-
Select the folder in Task Scheduler where the task is saved, normally Monitor ERP System AB.

-
The tasks in the folder are shown in the box on the right. Select the current task.

-
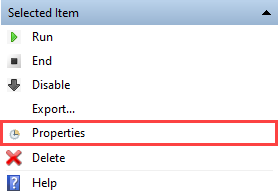
Then choose Properties for the selected task in the box on the far right.
-
Make your changes to the task in the dialog which is shown, and then click OK to save.
If you later need to remove a backup task or copying task, you can do so with Task Scheduler on the database server.
-
Follow the instructions in steps 1–2 under the heading Change a backup or copying task with Task Scheduler in Windows.
-
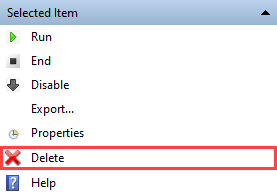
Then choose Delete for the selected task in the box on the far right.
-
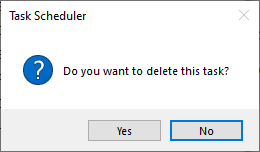
Select Yes in the dialog which is shown to delete the task.
