Installation manager
When installing Monitor ERP Server for the first time, the program Monitor ERP Installation manager is also installed, and a shortcut is created to the program on the computer desktop.
The installation manager is a program where the administrator downloads and installs updates and other components for Monitor ERP. The program is also used to activate additional company databases. The installation manager also checks that installed options and adaptations are available in a compatible version before you can update Monitor ERP. If Monitor ERP Server is installed for SQL Anywhere, then the installation manager is also used to create backup tasks and test companies.
The installation manager automatically connects to Monitor’s distribution servers which supply new update packages.
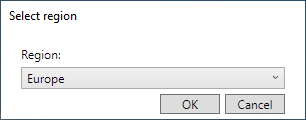
The first time you start the installation manager a dialog is shown where you should select the region where your Monitor ERP Server is installed. You can choose between Europe and China. There are distribution servers for these regions. The China option regarding region should be selected in order to improve the performance during updates if the server is located in China. The Europe region should be selected for Europe and the rest of the world. It is possible to change region afterwards in the installation manager. This should then be done under the Settings tab.
The installation manager is self-updating. This means that when new versions of the Installation Manager are released, the program will automatically update itself when starting up. The version of the program you are running is shown at the top of the title bar.

The functions of the installation manager are described below.
The installation manager communicates with the distribution server via TCP port 443. That port must be open for outbound traffic in the firewall. Otherwise, an error message is shown in the dialog where you select region. The DNS names of the distribution servers are cdn-eur-01.monitorerp.com and cdn-chn-01.monitorerp.cn.
Under the Start tab, a check is made to see if there are any updates available for the system. This takes place automatically when you have started the installation manager but you can also start the check manually by using the Scan for updates button. Such updates can be, for example, additional licenses or a new company which have been delivered to your system by Monitor ERP System AB. A new company must be activated here.

This check/scan for updates runs automatically once a day against Monitor’s distribution server. Normally, the administrator does not have to this manually. You can also force a check/scan for updates by using the Synchronize button in backstage in the Windows client for Monitor ERP. This can be done by the user with the role ERP manager.
Under the tab Installed versions you will see the currently installed version of Monitor ERP. Here you install updates of Monitor ERP via the Change version button. Under this tab you also install and update other components in the system, via the buttons Install and Change version in the section Other components. Next to each installed component you see the current version. If a component is not installed it will say Not installed.

You update Monitor ERP or a component in the same way. Read more about how to update Monitor ERP in the
This applies if Monitor ERP Server is installed for SQL Anywhere.
Under the Test databases tab you can create test databases and copying tasks. When creating a test database or when creating a copy task, it is possible to activate scheduled copying of actual database to test database. You can run the copying task manually from here. For scheduled copying tasks you can update the scheduling, which is saved in the Task Scheduler in Windows.

Read more in the Create test databases topic.
This applies if Monitor ERP Server is installed for SQL Anywhere.
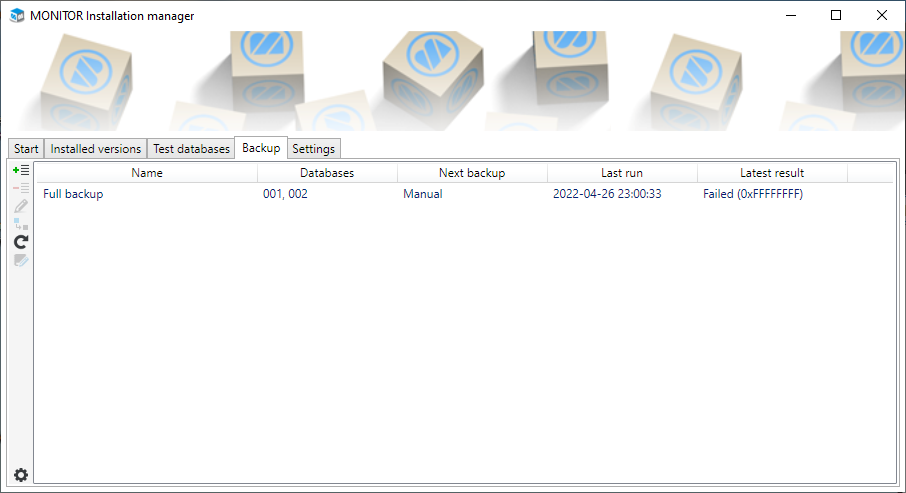
Under the Backup tab you create and schedule backup tasks for the actual (production) databases. Here you can also modify backup tasks. When needed, it is also possible to manually start a backup. For scheduled backup tasks you can update the scheduling, which is saved in the Task Scheduler in Windows. For backup tasks which have been run you can see logs that are updated after each run. At the bottom of the tab there are also general backup settings for all backup tasks.
Under the Settings tab you can configure a Standard path for backup files. The standard path will be used as default backup folder when new backup tasks are created. Please note! For all backup tasks it is possible to change the path to the backup folder. This will apply for the specific backup task.
Read more in the Create and schedule backup topic.
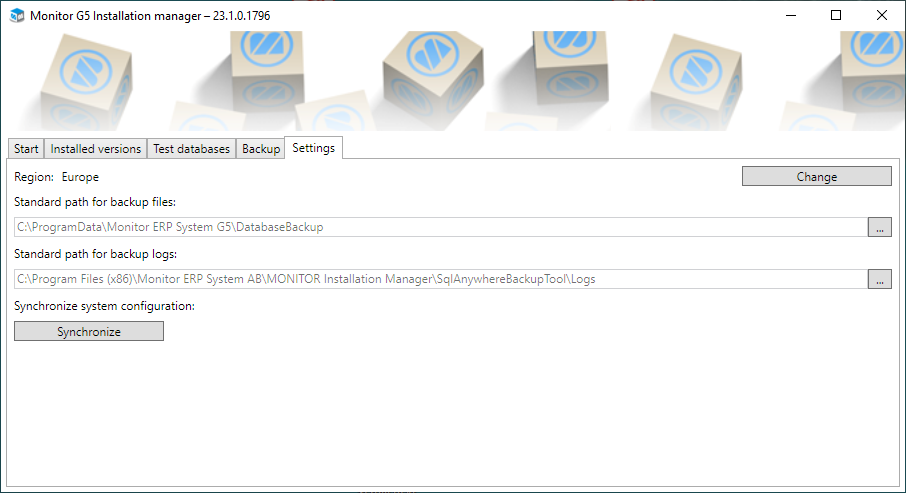
Under the Settings tab you can change the region for the installation manager. By clicking the Change button you can choose Europe or China.
You can enter the Standard path for backup files here. This applies if Monitor ERP Server is installed for SQL Anywhere. The default standard path is "C:\ProgramData\Monitor ERP System G5\DatabaseBackup".
You can also enter the Standard path for backup logs. This also applies to SQL Anywhere. The default standard path is "C:\Program Files (x86)\Monitor ERP System AB\MONITOR Installation Manager\SqlAnywhereBackupTool\Logs".
You can synchronize the system configuration with the Synchronize button. The same function is also available in the backstage of the Windows client for Monitor ERP. See the Synchronize system topic.
Under the Logged in users tab you see which users are logged in to the system at this moment. This applies to the company you are working in. Under Select database you choose for which databases you want to see the logged in users. All of your databases are selected by default. By clicking the Send notification button  you can send a notification to the logged in users, for example, if you need to restart your Monitor ERP Server. If a user does not log out prior to a restart, he/she will loose the connection to the server.


