Message center
Under the Message center button  in Monitor ERP you find notifications from the system, chat with others in the company, or see if there are any tasks for you to undertake.
If you have received a notification, a new chat, or a new task (with today's date as planned date) a red symbol with an exclamation mark will be shown  on the button for the Message center. This is done in order to make you observant of the new activity. You will also receive a notification displayed for a few seconds at the bottom right corner of the program window. These notifications will also be shown each time you start Monitor ERP.
You open the notifications using the Notifications button  . Notifications are different messages sent by the system to make you aware of things you need to do or things that have been done. For example, it could be that a net requirement calculation has been completed or an exchange rate update has failed. It can also be different messages from Monitor ERP System AB, for example letting you know a new version of Monitor ERP is available. Messages/notifications regarding new updates and available versions are sent to users that have the roles called system administrator and ERP manager.
In the list you can mark notifications as read. You can see when the notification was created and also type and category of the notification.
If you save a notification as read, it will be removed from the list.
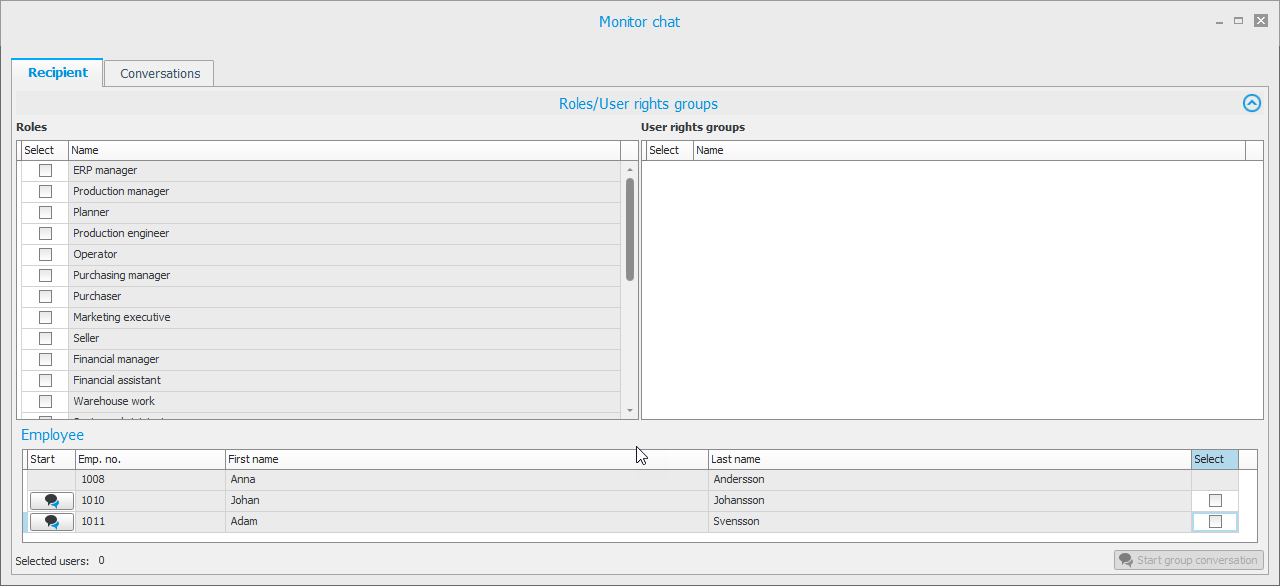
You open the chat function by clicking the Monitor chat button  . A chat is a type of instant message between you and other persons in the company in Monitor ERP. The chat function can only be used when the logged-in user is linked/tied to an employee. You register this link in the Personnel records – General procedure.
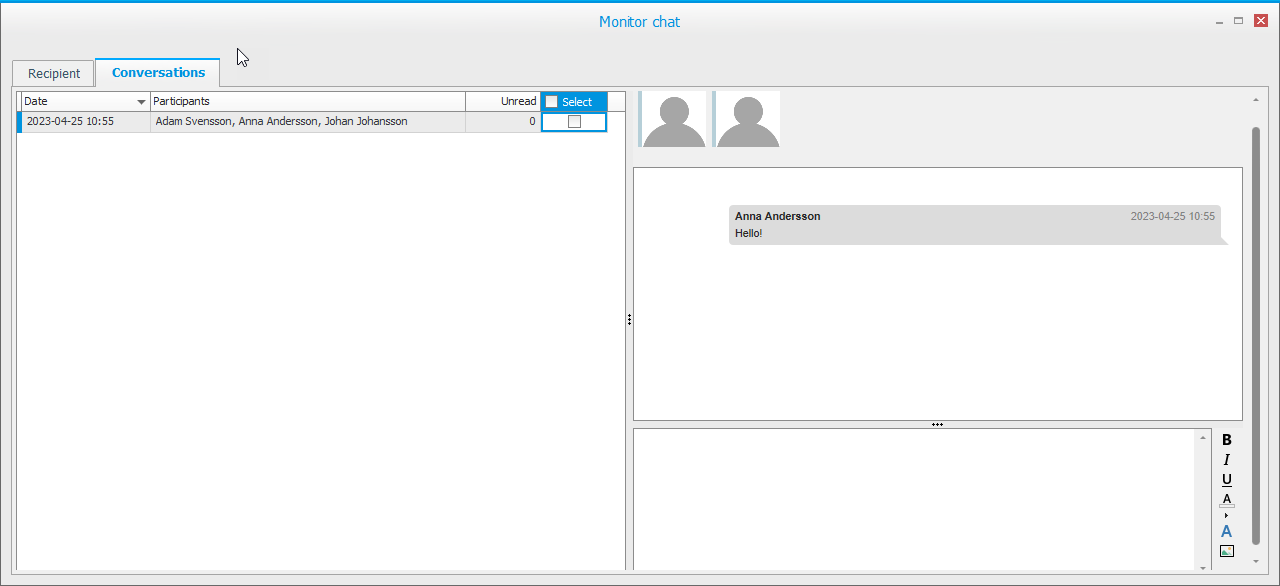
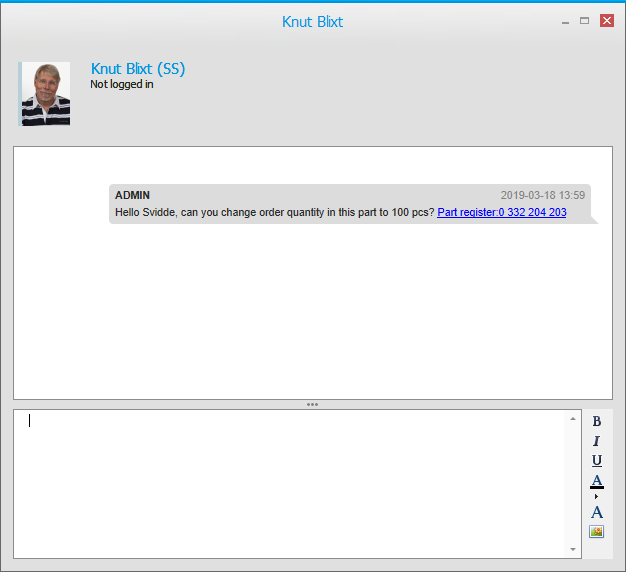
In the Monitor chat there is a tab where you select with which persons you wish to chat. Under another tab you can see saved conversations. Here you can also choose if you want to mark them as already read, hide them, or restart the conversation. The chat window is similar to other programs for instant messaging, for example, Teams. The chat function in Monitor ERP can also be used to send image files and Monitor hyperlinks between you and other persons at the company.
When you have started a new chat, the Conversations tab will open. There you type your messages in the chat window to the right. You see what time the chats were started, information about who is or was taking part in the chat, as well as see if there are any unread chat messages. You can mark messages as read, or you can hide them. You can also restart a saved chat/conversation and you will then see all of the messages in the chat window.
The chat window under the Conversations tab works in the same way as, for example, Teams. You see the sent and received messages, and there is a small text editor where you can type and format texts, and insert hyperlinks from Monitor or image files. You send messages to the persons in the chat by pressing Enter. If an image/photo has been added in the personnel records for the persons in question, such image will be shown here.
You open the tasks using the Tasks button  . Here you see different tasks assigned to you. When needed, you can also update the information shown by reloading data using the Reload button
  on the toolbar.
Under the Activities tab you can modify most of the information regarding an activity, except for number, type, and identifier. It is also possible for you to finish activities. For project activities and case activities you see planned start and finish dates. For other activities (for example, activities in the Customer register, Supplier register, and Part register procedures) you will see the planned date for the activity in the start date column. You can choose to display Finished activities and Project activities not ready to start. The Project activities not ready to start option only applies to project activities with dependencies. With the setting Time horizon (days) you can select for how many days ahead you wish to see activities. When you save an activity as finished a text editor will open in a window. There you can enter a subject and write a text regarding the performed activity. You can also link files to the performed activity.
If the option Electronic invoice management (EIM) is installed, there might also be tasks (for example to authorize and final record invoices) for you to deal with regarding supplier invoices. These are found under the separate tab called EIM. Here you find the necessary information abut the task. You can look at an image  of the invoice and see detailed invoice information. With this button
  you can go to affected procedures for the selected invoice. You can see the number of subsequent signers and enter a message to them for each task. If you use cash discount, the cash discount date will be shown under More info. First you see the earliest cash discount date. When this has passed, you will see the next cash discount date. When all cash discount dates have passed, the field will be empty. When there is five days or less until the cash discount date expires, the date will be shown in red.
Under Settings – Messages and reminders in the backstage of the desktop you can decide if you by default wish to receive reminders regarding invoices to authorize and/or final record. You can also determine if you want to receive these reminders by e-mail as well.
Under Settings – Messages and reminders in the backstage of the desktop you can decide if you by default wish to receive reminders regarding invoices to authorize and/or final record. You can also determine if you want to receive these reminders by e-mail as well.
Under the Purchase order tab you can perform different tasks if you apply the function approve purchase order. The tasks that might occur for purchase orders are approve (or reject), modify (e.g. adjusting a quantity), and print (already approved orders). To do this, you use the link  to go to the related procedure. This procedure then already has the information loaded. If you are one of the signers in an authorization list for an order, then you see how many subsequent signers exist on the order and you can enter an authorization/approval message for them.
If the Time recording module is installed, and you are authorized to approve absence of personnel, you can view and approve absence records under the separate tab, Absence. You can select to Show absence records either for which you are main signer or all you are allowed to adjust. You can use the link  to go to the personnel records for the person whose absence record you have marked. You can also send an e-mail
  to that person. On the rows, you can see the next absence date and approve it straight away. By clicking the button All dates you get to see all absence dates per person and there you can also see if the absence concerns part of day.
If you are applying stock count approval and you have the permission/authority to approve stock count, this tab will be available. Here you can see how many rows there are for you to approve. By using this button  , you can go to the Stock count difference procedure to approve the stock counts.


