Packaging template rows
In this box you create a combination of packaging parts for the packaging template marked in the table above. The combination forms a package structure.
An example of a combination can be: One row is level 1 and contains an inner packaging that parts are packed into, for example, a cardboard box. One row is level 2 and contains an outer packaging, for example, a wooden box in which you pack the cardboard box from level 1. On that row you enter a maximum quantity and a minimum quantity of the cardboard box from level 1. (Read more about maximum and minimum quantity below.) One row is level 3 and it consists of a EUR pallet. On that row you enter a maximum quantity and a minimum quantity of the wooden box from level 2. Another row is level 3 and it consists of a pallet collar. And finally, there is another row that is level 3 where you have a lid for the EUR pallet.
Level
The level describes how deep in the package structure the packaging part on the row is placed. Level 1 is the innermost packaging part, the packaging part in which the parts are packed. On each level there must be a handling unit (a packaging part containing parts or packaging parts, can also be called a load carrier). There cannot be two handling units on the same level. A cover packaging is not a handling unit.
Type
In this column you see a symbol for the type of packaging part selected on the row. When you hover over the symbol, a tooltip will shown the packaging type in text. The packaging types available in Monitor ERP are: Unspecified, Inner packaging, Outer packaging, EUR pallet, and Cover packaging.
Packaging part
Here you select the packaging part for the row. In the Name field to the right you see the name of the packaging part.
Maximum quantity
For handling units you should here enter the maximum quantity of included packaging part on the underlying level which this handling unit can hold/carry. The default value here is 1. For example, if there is a wooden box as outer packaging on level 2, and there is a cardboard box as inner packaging on level 1, you should enter how many of the cardboard boxes on level 1 that this wooden box can carry.
To the right in the field you see a dynamic unit: the part number of the included packaging part / the handling unit's part number.
Minimum quantity
For handling units you can here enter a minimum quantity of the packaging part on the underlying level which this packing part must contain. The default value here is 1. For example, if the wooden box in the example above always has to be completely filled, then you enter the same minimum quantity as the maximum quantity. If a delivery has less cardboard boxes containing parts than the minimum quantity of the packaging part, then empty cardboard boxes should be added to fill the wooden box.
To the right in the field you see a dynamic unit: the part number of the included packaging part / the handling unit's part number.
When the packaging template is used, either when the pick list is created in the Delivery plan procedure or when manual packing in the Pack for delivery procedure, you can also use Minimum quantity to, e.g., even out rows of boxes on a pallet. For example, we have a pallet which has room for 12 boxes, three rows with four boxes per row.
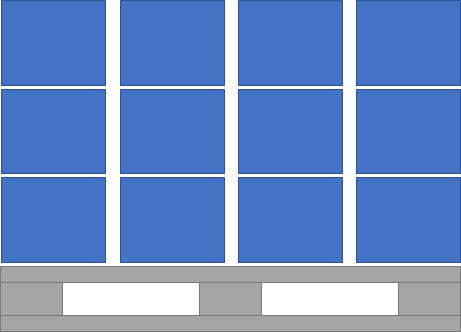
To be able to put a lid on the pallet, we need to fill the whole row with boxes. If we, in our delivery, fill seven boxes with parts, we want the system to fill an empty box so that there are eight boxes in total, that is, two rows with four boxes per row.
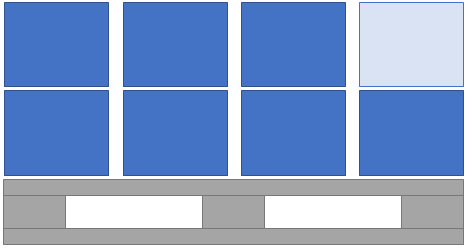
If we were creating a packing template for the above example, we would enter 4 as the Minimum quantity. This means, that if the quantity of “filled” packaging is less than a multiple of the Min. quantity (in this case 4, 8, or 12), we add “empty” packaging up to the nearest multiple (up to the maximum quantity).


