Install the Monitor ERP Windows client
This instruction describes first-time installation of the Windows client for Monitor ERP.
If you cannot perform the installation by yourselves, the Monitor Support Center offers installation help for Monitor ERP, at a fixed price. We will then create a remote control session and perform the installation. Program for the remote control session can be downloaded from our website https://www.monitorerp.com/mos.
Preparations
- As of Monitor ERP version 24.6 .NET Desktop Runtime 8 must be installed on the computer. It is recommended that you install the latest version of .Net Desktop Runtime 8. From version 24.3, Monitor ERP will no longer work on computers (clients) with a 32-bit Windows operating system. This means that computers with a 32-bit operating system need to be updated to a 64-bit operating system or need to be swapped with a computer that has a 64-bit operating system.
- Close all other programs on the computer before you start the installation.
- Open the shared folder on the Monitor server, or the folder on the network where the installation file MONITOR Client Setup.exe and MONITOR Certificate - [your system name].rsa the license file are saved. If the MONITOR Client Setup.exe file exists as an older version, it needs to be swapped for the one that is in the folder where the Monitor server is installed, e.g.: C:\Monitor ERP System AB\MONITOR Server\Monitor Client Setup.exe. The Monitor Client Setup.exe file must have version 1.0.4 or later to be able to be used with Monitor server in version 24.6 or later.
- Copy the license file to the computer where the client will be installed. It must be located locally on the computer during installation.
Installation description:
- Start the client installation with the file MONITOR Client Setup.exe.
- If the window User Account Control is then shown you should allow the installation to make changes on your computer. Click Yes in that window.
-
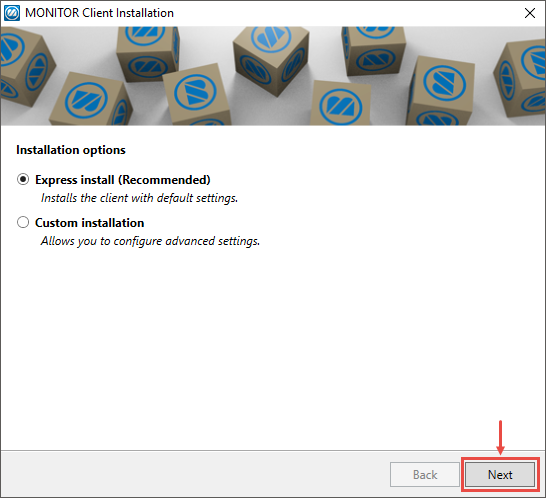
The window Monitor Client Installation will open, and there you choose between:
- Express install – This is the default option to install the client on the user's computer with default settings. If you choose this option you skip to item 10 after you have skipped the installation.
-
Custom installation – With this option it is possible to configure different settings during the installation. If you choose this option you should continue with the items below after you have started the installation.
If the Client is installed on a Terminal Server you should select the option Custom installation.
Click Next to start the installation.
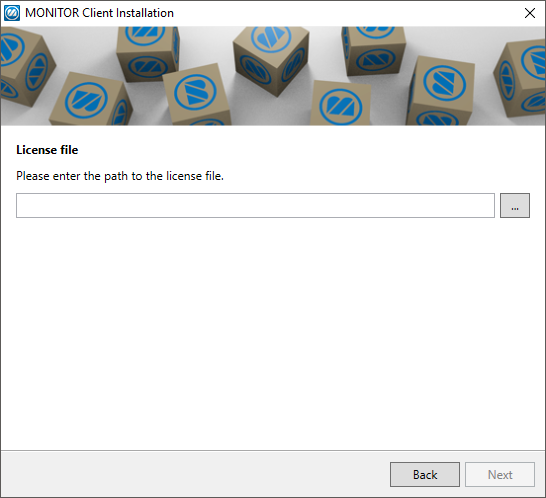
- Here you should click ... and choose the license file MONITOR Certificate - [your system name].rsa in the local folder on the computer where it is saved.
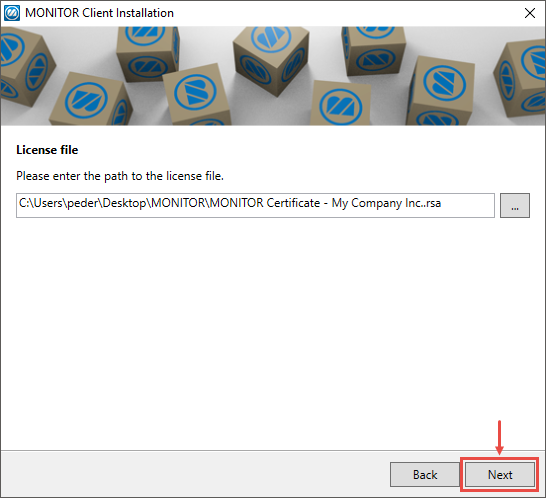
- Click Next after you have chosen the license file.
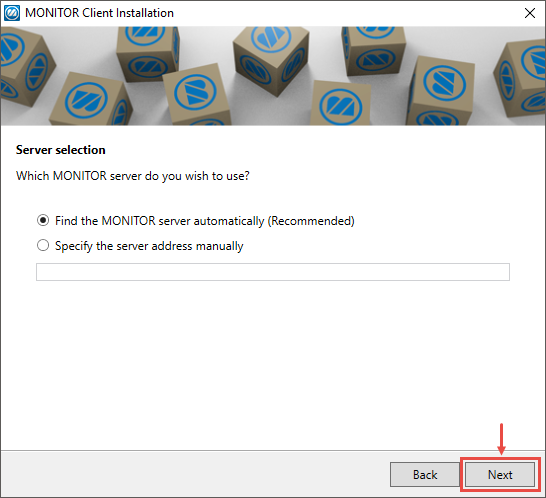
- Here you select which server to use. The default is to search for the application server (Monitor server) automatically in the network, which is the recommended method (communication takes place over UPD port 8002). If you do not find the application server when searching, choose the option to enter the server address manually. In this case, enter the application server’s DNS name or IP address in the field. Then click Tab on the keyboard to confirm. Then click Next.
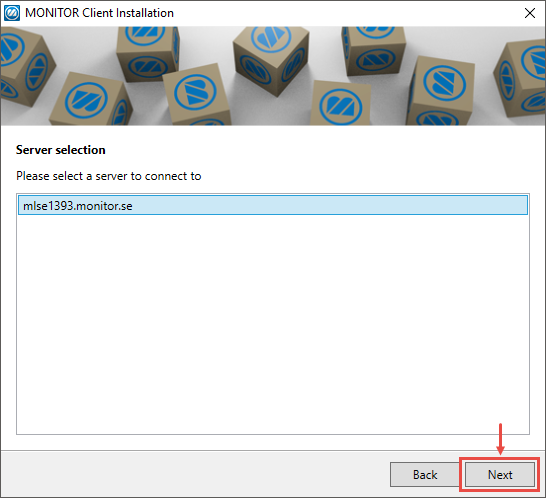
- Here you mark the application server and click Next. If more than one server is available, you select the server to which this Windows client should connect.
- Here you select in which path the Windows client should be installed.
If you install on the user's computer, it is recommended you install in the default path.
If you install on a Terminal Server it is recommended that you install in a folder directly under C: or in a folder under a different unit on the terminal server, e.g. C:\MONITOR. You then enter C:\MONITOR as path. Then click Next.
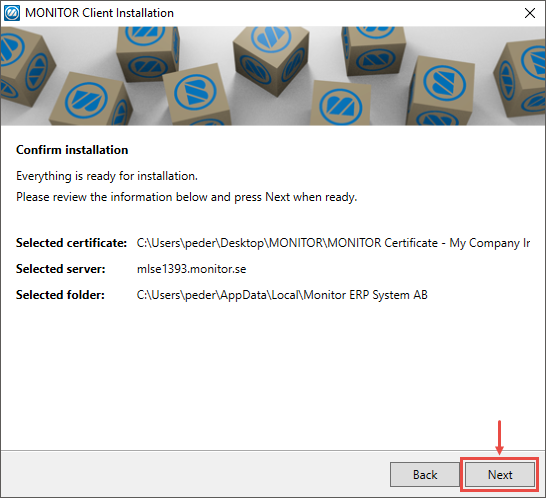
- Now you get to confirm the installation. If you should regret a selection made up till now, it is possible to go back using the Back button. But if everything is OK you should click Next.
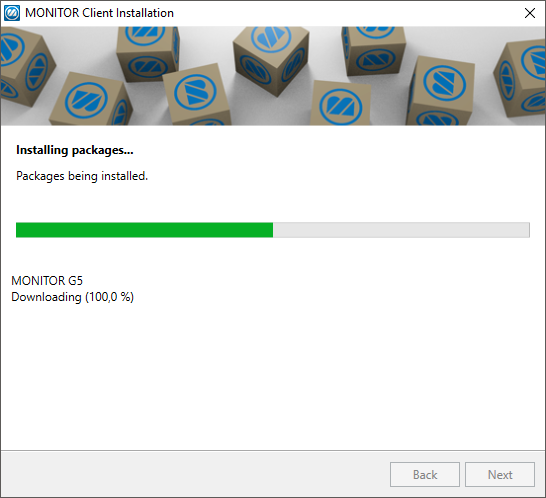
- The installation will now take place and this will take approximately one minute.
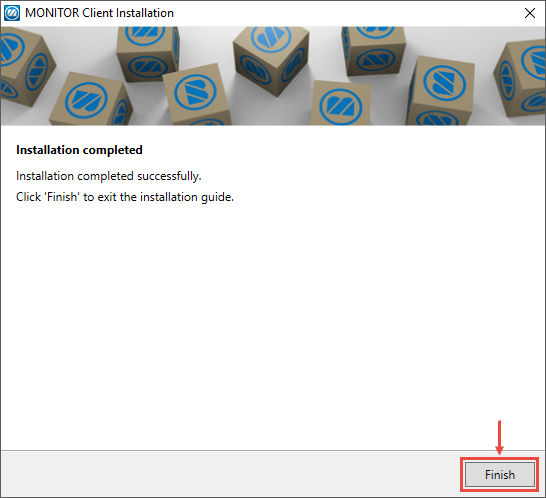
- Finally, you should finish the installation by clicking Finish.
A shortcut Monitor ERP has now been created on the computer desktop and on the Start menu. This shortcut is how you start the program.

Default company or user
Optional. It is possible to select which company or which user should always be default when Monitor ERP is started with the above mentioned shortcut on the computer. You configure this in the properties for the shortcut as described below.
- Right-click on the shortcut to Monitor ERP and select Properties.
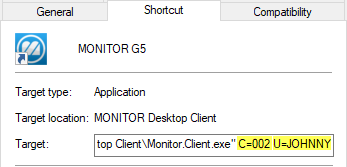
- In the Target field under the Shortcut tab, you add C=[database number] to configure default company or U=user [name] to configure a default user. You can add both default company and default user. See example in the image below.
Special measures on Terminal Server after installation
- Copy the above mentioned shortcut Monitor ERP to C:\Users\Public\Desktop.
(It is this shortcut the users should to start the program.)
It is recommended that the users of Monitor ERP Windows client is given write permission in the program folder (e.g. C:\MONITOR) on the terminal server. But if read-only is configured for the users in that program folder (due to for example an IT policy), then you should also perform the following:
- Right-click the users' shortcut Monitor ERP and click on Properties.
- In the Target field you add the .NoCheck text in the program file's name "Monitor.Client.exe", resulting in the name "Monitor.Client.NoCheck.exe".
(This program file will not update the client.)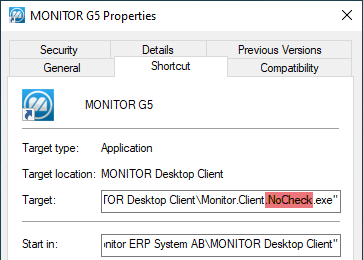
Please note! If the users run the program file Monitor.Client.NoCheck.exe and there are updates for the Monitor client after an update of the application server (the Monitor server), the administrator must first start the client with the shortcut to Monitor.Client.exe (the shortcut created during installation). This ensures the client will be updated on the terminal server. This must be done each time you update the application server, before the users start the client on the terminal server.
Read more about Monitor ERP in the guide called Getting started with Monitor ERP or in the online help function.


