Install Monitor ERP Server
This instruction describes first-time installation of the server for Monitor ERP. During installation, the Monitor ERP Server (application server) and Monitor Installation manager will be installed.
Preparations
If you cannot perform the installation by yourselves, the Monitor Support Center offers installation help for Monitor ERP, at a fixed price. We will then create a remote control session and perform the installation. Program for the remote control session can be downloaded from our website https://www.monitorerp.com/mos.
- As of Monitor ERP version 24.6, the computer must have Microsoft Windows Desktop Runtime 8.0.3 (x64) or later and Microsoft ASP.NET Core 8.0.3 (x64) – Shared Framework or later. From version 24.3, Monitor ERP will no longer work on computers (clients) with a 32-bit Windows operating system. This means that computers with a 32-bit operating system need to be updated to a 64-bit operating system or need to be swapped with a computer that has a 64-bit operating system.
- If Monitor ERP should be installed for Microsoft SQL Server, the server must already be installed, either on the local server or on a server on the network. You need to have access to information about the server, and the account to be used during installation of Monitor ERP Server. The account must have the server role "sysadmin" in SQL Server.
- Save the attached ZIP file – MONITOR.zip and the license file MONITOR Certificate - [your system name].rsa, which is attached in the e-mail message you received from Monitor ERP System AB, on a folder on the server computer where the application server (Monitor server) is to be installed. The license file is unique for your Monitor ERP system. It can be used again in future new installations of server and clients.
- Unzip the ZIP file. In that file you find the installation files MONITOR Server Setup - EU.exe and MONITOR Server Setup - CN.exe (for the server) and MONITOR Client Setup.exe (for the clients). The file with "EU" in the name is intended for installations outside China. The file with "CN" in the name is intended for installations in China.
- Then, share the folder on the Monitor server so it can be reached from the computers where the client is to be installed. Alternatively, you can copy the license file and installation file for the client MONITOR Client Setup.exe to a shared folder on the network.
- Close all other programs on the computer before you start the installation.
- Continue reading under the heading Installation description.
Save the license file as backup for future new installations, if any.
You don't need to save the installation files for server and client. These will become out of date after a while when you have updated the server to newer versions (via the installation manager which will be installed together with the server).
If you later on need a new installation file for the sever, you can order the file in your current version from the Monitor Support Center. The installation file for the client is found in your current version in the folder called Monitor ERP System AB\MONITOR Server in the path where Monitor ERP is installed.
Installation description:
- Start the server installation with the file called MONITOR Server Setup - EU.exe. If the server is located in China, you should instead use the file called MONITOR Server Setup - CN.exe.
- If the window User Account Control is then shown you should allow the installation to make changes on the computer. Click Yes in that window.
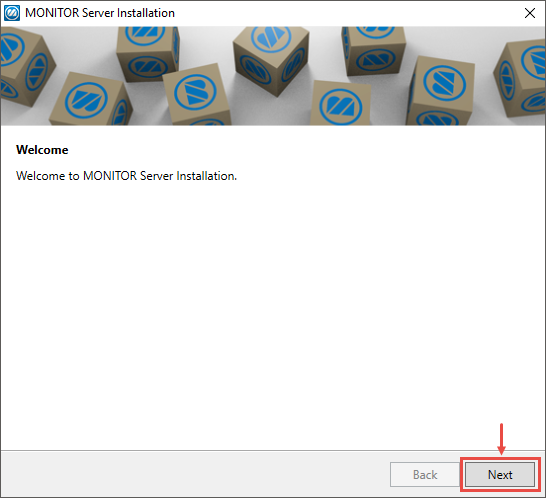
- In the window called MONITOR Server Installation which is shown, click Next to start the installation.
- The installation program will check that Microsoft Windows Desktop Runtime 8.0.3 (x64) or later and Microsoft ASP.NET Core 8.0.3 (x64) – Shared Framework or later is installed on the computer. If/when that installation is finished the installation of Monitor ERP Server continues.
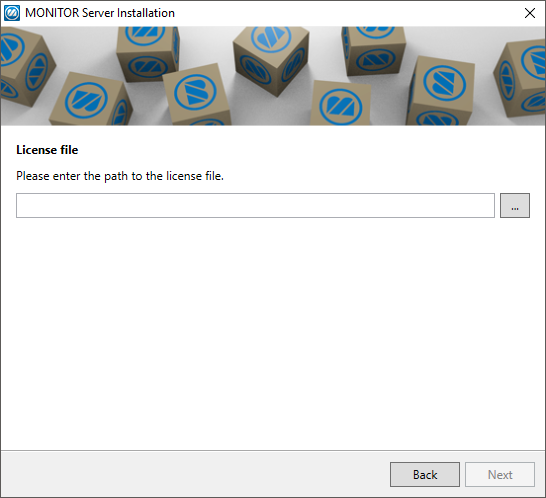
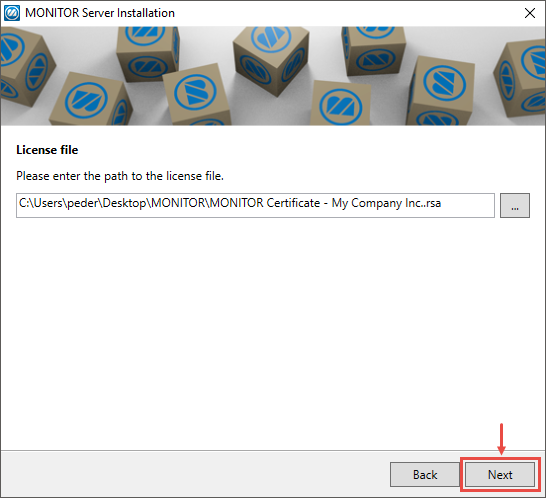
- In the next step you should click the button ... and select the license file MONITOR Certificate - [your system name].rsa.
- Then click Next after you have selected the license file.
-
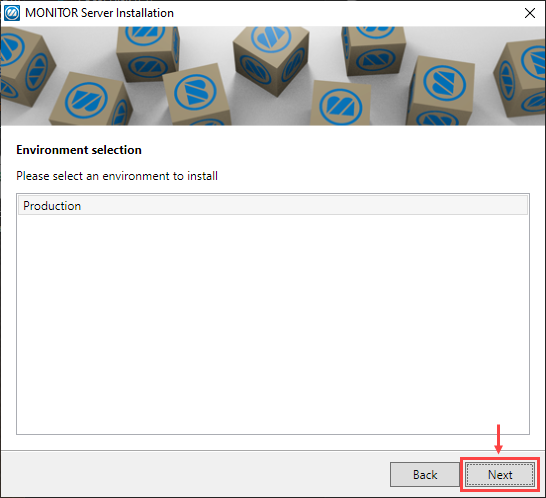
In this step you choose if a new environment/setting should be created or if an existing environment should be installed. Click Next.
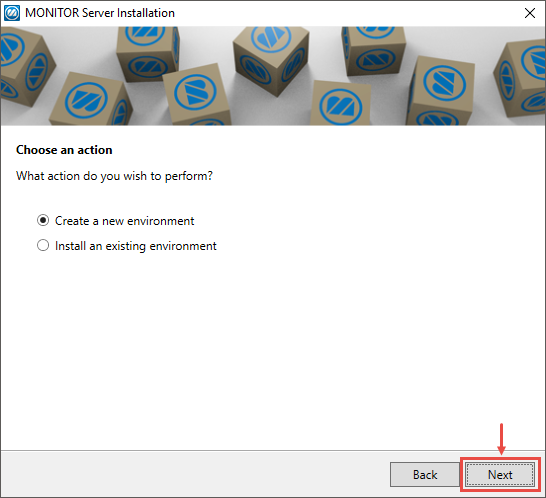
If it is the first time you install Monitor ERP Server you select Create a new environment. If you are moving/relocating, for example, an existing server installation to a new server computer, you select the Install an existing environment option.
-
If you selected to create a new environment you should here select if a Production environment (an actual company environment) or a Test environment should be created. If you chose to install an existing environment, you can only select your Production environment. Click Next.
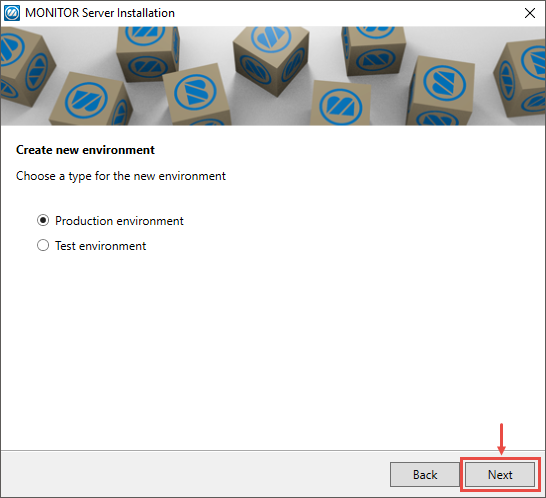
Tip! You only create a Production environment once. It is possible to create multiple Test environments.
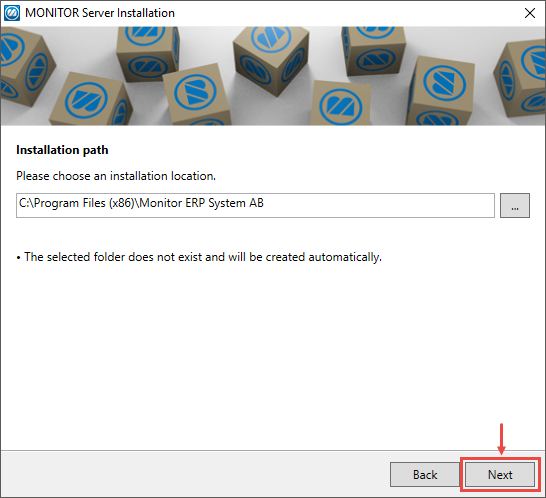
- In the next step you select in which path to install the Monitor ERP Server. It is recommended to install it in the default path. Click Next.
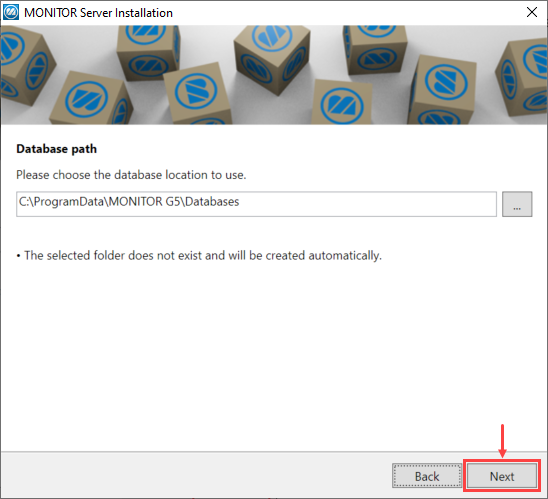
- In the next step you select in which path to install the database. It is recommended to install it in the default path. Click Next.
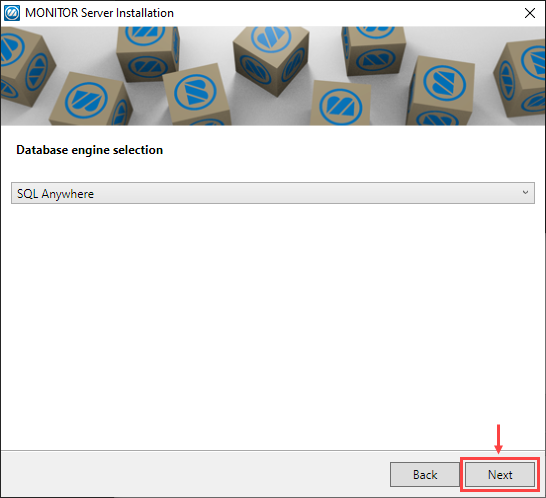
- In the next step you select which database engine to use. You can choose SQL Anywhere or Microsoft SQL Server. If you select SQL Anywhere to be your database engine, click Next and skip to item 14 below.
-
If you select Microsoft SQL Server you get to configure a Datasource. This is entered as [db server]\[instance name] or [db server],[port].
You can enter Login and Password to choose an account in SQL Server which has the server role "sysadmin” (read more in the image below).
You can also select Use integrated login if you are logged in with the account in Windows on the server. In that case, you do not have to enter Login and Password. After you have made your choice, click Next.
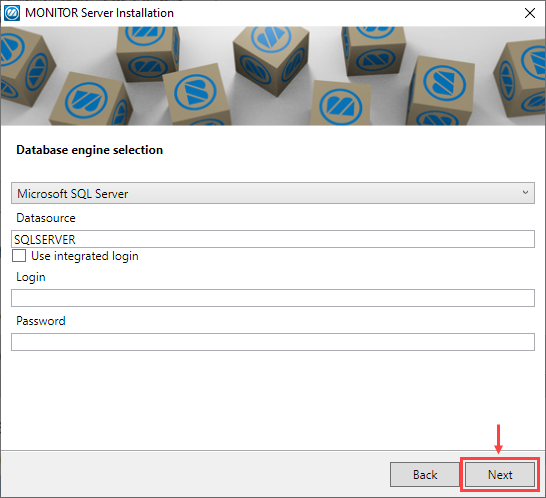
Please note! The account in SQL Server must have the server role "sysadmin” activated in order to created logins in Monitor ERP in SQL Server. The account is only used during installation of Monitor ERP.
-
A connection to SQL Server is made and in the following steps the database's login details (name and password) are entered with a standard name and password for Controller, Admin, Application, and Extensions. The database names for SYS and BID are also entered with a standard name. Click Next.
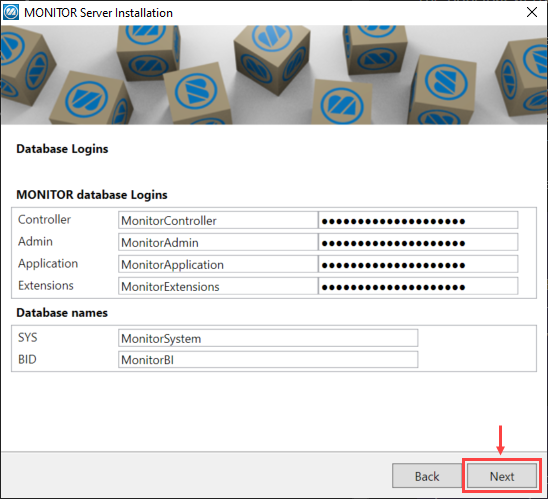 Please note! If this SQL Server is already running or will be running other Monitor systems, you must change the standard login name and standard database name for SYS and BID. You can, for example, add a prefix for this Monitor system.
 -
Here you enter which account in Windows that should run Monitor ERP Server (the server is installed as a service). The logged in account on the computer is entered by default. You also need to enter the account's password and confirm it. It is also default to automatically start the service. When you have entered the password of the account, click Next.
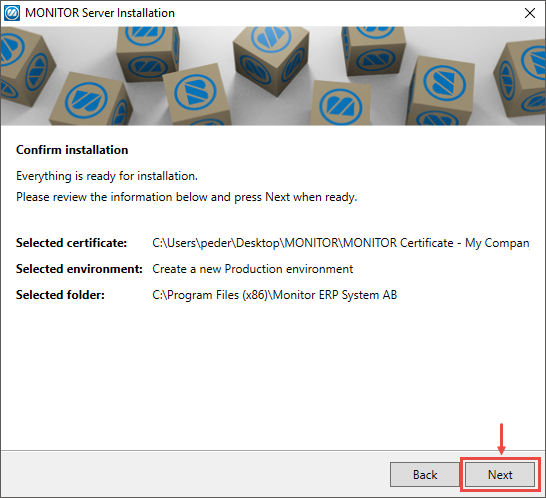
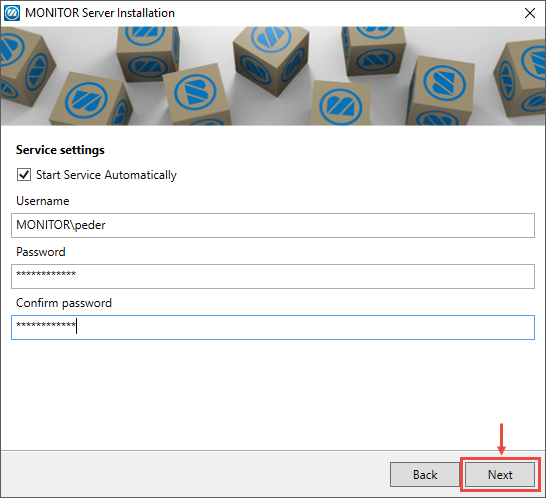 Please note! Enter a domain administrator’s account with all user rights to the directory where you install Monitor ERP, and full control to shared directories on your file server.
 - Now you need to confirm the installation. If you should regret a selection made up till now, it is possible to go back using the Back button. But if everything is OK you should click Next.
- The installation will now take place and it might vary how long this step will take, depending on your band width to the Internet. When the different packages in the installation are downloaded, the progress bar can be at a standstill.

- Finally you finish the installation by clicking Finish.
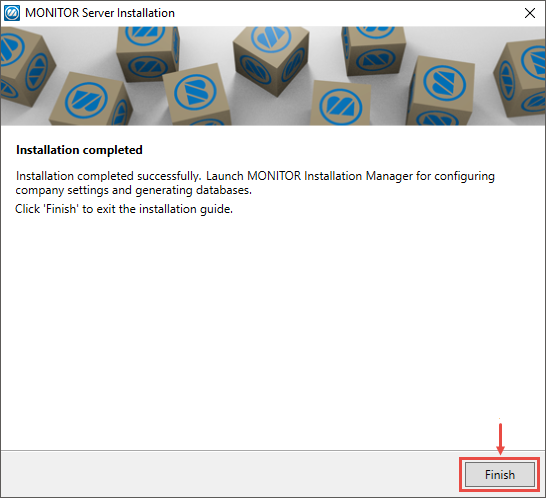
If a message is shown after the installation, saying you need to restart the computer, you should restart the computer.
Activate company after installation:
After the installation you should start the program Monitor Installation manager and follow the instruction below. A shortcut to the program has been created on the desktop of the server computer.
You use the Monitor Installation manager to activate the companies included in the installation. During the activation, company databases will be created for each company. You also use the installation manager later on when you want to install updates of Monitor ERP. The installation manager is also used to install and update other components and to activate additional companies. Here you also create test companies and configure backup of databases if you have installed Monitor ERP for the SQL Anywhere database engine.
You can read more about the Installation manager in the guide called Configure Monitor ERP or under Configuration in the online help function.
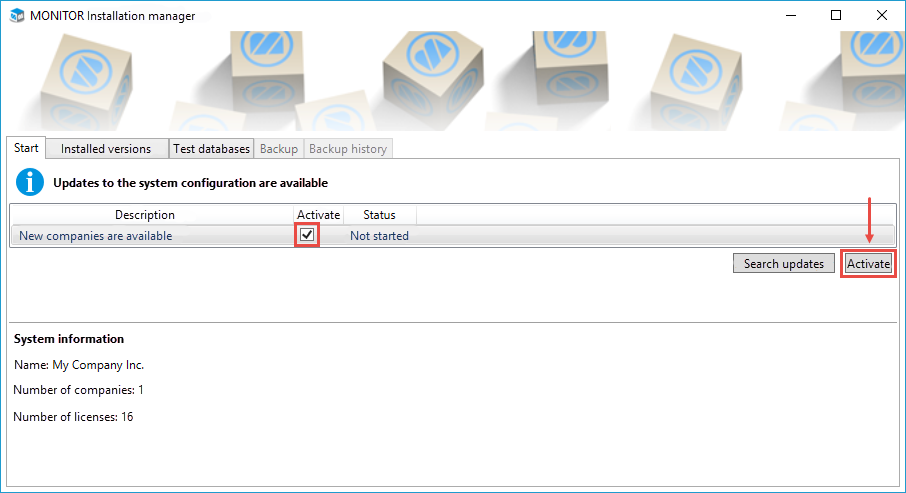
- When you have started the installation manager after an installation of Monitor ERP Server, you should activate the companies which are included. You do this under the Start tab. Make sure the checkbox for activate is checked and then click the button Activate.
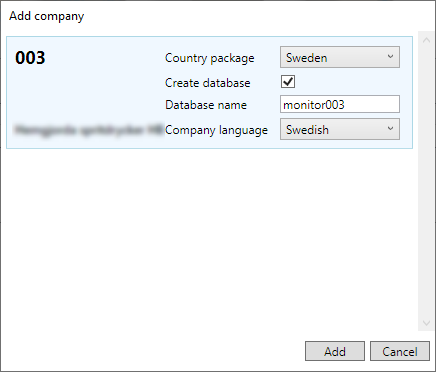
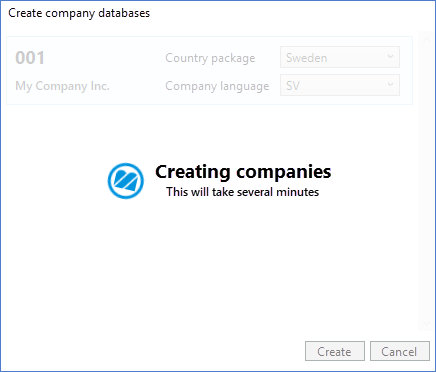
- You should now select the company’s Country package and Company language. Before creating the database, make sure that the Database collation matches the country package. For example, for a company with the Swedish country package, the Database collation is by default Swedish. Once the database has been created, it is not possible to make any changes to it. A database is created for the company by default, but if you have an existing database that will be used, you can uncheck the option Create database. If the company database is intended for SQL Server you can also enter the Database name in SQL Server. If multiple companies are included you should do this for each company. Then click Add.
- Now the company databases are being created, and this will take a few minutes.
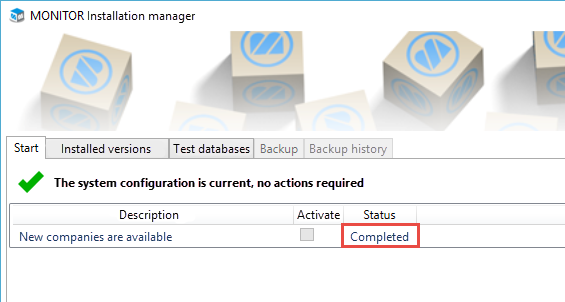
- When this is completed, the above window will close. Make sure that it looks as in the in image below and that it says Completed as status on the row for the company. After this, you go ahead with the other activities to do after the installation, as stated below.
Other activities:
- Install clients: When you want to install Windows clients on the users' computers, you should follow the instructions in the separate document called Install Monitor ERP Client. On the server computer you only need to install a Windows client if you also intend to use that computer as a client.
- Install web server: For Monitor ERP there is a web server and Monitor Mobile (app for Android and IOS). If you are going to use Monitor Mobile or the app, the Monitor ERP Web server must also be installed. Then you should follow the instructions in the separate document Preparation for installation of Monitor ERP Web server and the document Install Monitor ERP Web server. The users who should use the app should follow the instruction in the document Install Monitor ERP App.
- Create backup: It is important for you to regularly run backups of the company databases in Monitor ERP.
- If you have installed Monitor ERP for SQL Anywhere database engine: Please read the Configure Monitor ERP guide or go to Getting started - Configuration in the online help function, to read about how to create backup by using the installation manager.
- If you have installed Monitor ERP for Microsoft SQL Server: Backup of the company databases are created in the regular tool for backup of SQL Server databases.


